|
Risks:
Another area where modern wind resistant construction is significantly different from the typical ways homes have been built in the past, has to do with the narrow side walls next to garage doors on garages that stick out from the house. The walls being built today are much stronger than those built in the past. Winds pushing on the side of the garage will tend to try and push the end of the garage over. This has to be resisted by the short walls and the action of the roof and ceiling diaphragms. Typically, these walls are so short (less than 18 inches) that they are not very effective in resisting these loads unless special care was taken to make them extremely strong and well anchored to both the foundations and to the beam running across the top of the garage door opening.
There are two approaches to strengthening a narrow garage wall. First, several manufacturers make kits that can provide the kind of strength required provided they can be properly anchored into a strong foundation and into the framing above the door. This type of retrofit would require removing the garage door and making significant modifications to the walls. This should only be done by a professional contractor. A second but less effective approach is to strengthen the existing sidewalls by improving their anchorage to the floor, improving their connection to the top plates and header, and adding plywood to the interior face of the wall. This second method is described in more detail below.
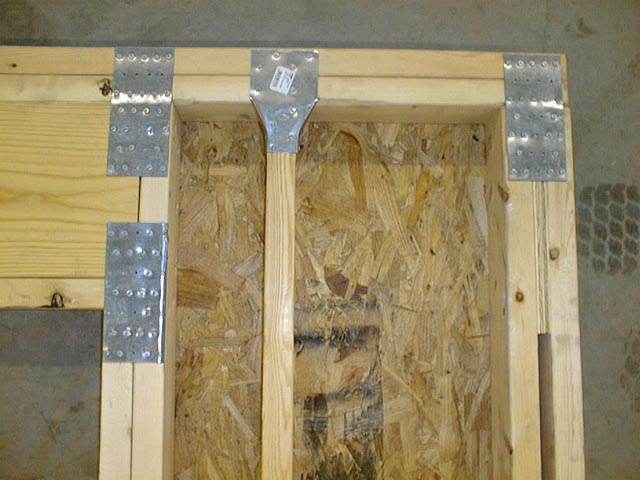
For wood frame walls: Start by strapping the existing framing together if the strapping is not already in place. This strapping should connect the header to the jack and full height studs at the ends of the header and the tops and bottoms of all wall studs where they connect to the double top plate and the sole plate. An example of the strapping is shown in the "added strapping" photo shown below. Next, install two hold downs at the bottom of each wall segment to help anchor the studs at the sides of these short walls to the foundations. Finally, install a layer of �-inch plywood (cut into an L shape) up the side of the wall and across the top of the door opening, on each side of the door. You want to use a single piece of plywood to form the L so that it is continuous around the corner at the top of the door opening. This makes the plywood act like a large angle bracket that helps keep the corner from distorting. Add pieces of �" plywood to cover any parts of the wall that are not covered by the two L shaped pieces. However, there is usually no need to install additional plywood over the top of the garage door opening (beyond the end of the "L") since there is a large beam over the door and the ends of the plywood "L's" will be attached to that beam.
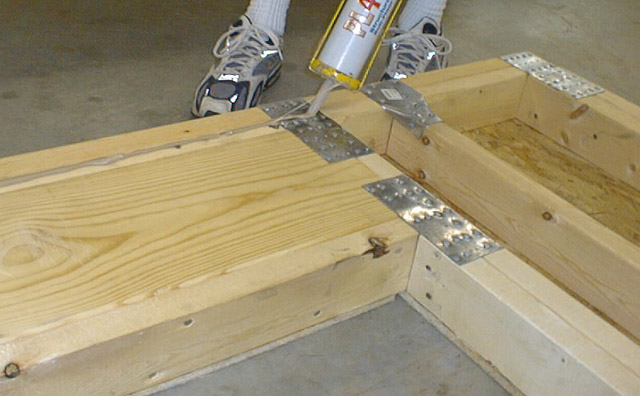
Applying an AFG-01 approved wood adhesive and attaching the plywood using nails or deck screws will make for a stronger retrofit. All the plywood should be nailed around the edges with 8d (2-1/2" long) nails [or attached with 2-1/2" #8 deck screw] at 3" spacing and at 6" spacing along any framing members that fall in the middle of the plywood sheets.
If there are enough full height and jack studs beside the garage door in a wood frame house, it may not be necessary to have the garage door removed. One could cut slots in the 3/4" plywood to facilitate installing the plywood where the garage door track mounting brackets are located on the wall.

If the garage door is to be removed for this retrofit, and it has a coil spring, the removal should NOT be attempted by anyone other than a professional garage door mechanic. These coil springs are very powerful, dangerous, and can kill.
|
|
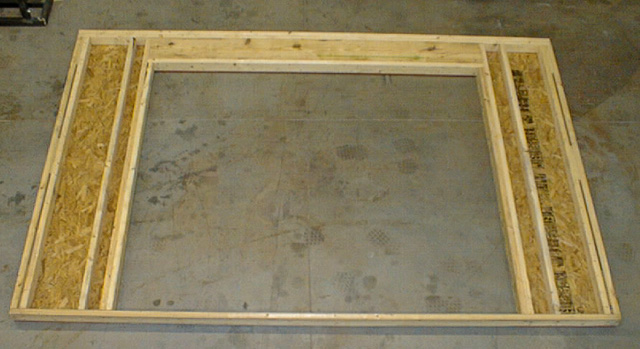
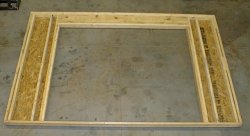
Preparation of a test specimen for testing at Clemson University - this is the baseline structure built the way many garage door openings are framed when conventional construction (not high wind construction) is followed.
(click image for larger version) |
|

|
Preparation of a test specimen for testing at Clemson University - this is the baseline structure built the way many garage door openings are framed when conventional construction (not high wind construction) is followed.
(click image for larger version) |
|
|